Have you already hopped on the Android Wear train? It’s riding fast since Google’s recent SDK release. In this post I will help you ensure a safe ride by showing you how to automatically test your new ‘wearable app’.
This post contains advanced techniques for test automation using Appium and is mainly intended for technical readers, but non-technical readers will surely benefit from reading it as well (and watching the demo video).
So, here we go:
Please remember these two words: automation & validation.
We need automation in order to run our tests without any manual intervention; we need validation in order to assure everything looks as we intended. If automation replaces the hands of the manual QA testers – validation replaces their eyes.
After thoroughly researching this topic – and trying it first-hand, I created the following example for automating a wearable device. I recorded all the steps described below for your convenience.
Prerequisites:
- Android SDK with wearable SDK and emulator image
- Appium server
- My language of choice was Java + JUnit, but you can use your favorite programming language
- UI Validation tool – I used Applitools Eyes
- ‘Android wear app’ installed on your Android device (it can be a physical or emulated device)
- Last, but not least, you will obviously need an application to test – I chose Google Keep
I used Android Virtual Devices Manager (AVD). I wanted it to look cool, so I selected a round device. Make sure to select “Android 4.4W – API Level 20” with ARM CPU. Do not select “Use host GPU”, otherwise visual validation won’t work. Use “AndroidWearRound” skin to display round layout (that’s the coolness factor).
After running the new wearable device I created, I connected my Android device to the emulator device. Make sure to forward TCP Port 5601 via ADB, as shown in the video, so the wearable device will display “Connected status” on the Android host device.
Now I was almost ready to go (and so are you, if you’re following my lead on this one…).
Once the devices are all connected, there is one thing left to do before running the automation code and it’s to start the Appium server. Since I automated two devices in parallel (the wearable device and the hosting Android device), I needed two Appium servers on two different ports – make sure to specify port and device UID as shown in the video.
Now I was ready to go.
Let’s create awesome automation code; mine is shown in the video.
And… run it!
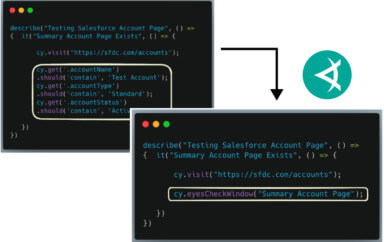
In order to make validation reliable and covered as much as possible, I used Applitools Eyes UI validation tool. It allows to use one line of code to validate the entire screen, so it keeps you agile and fast, and most importantly: free of UI issues as much as possible.
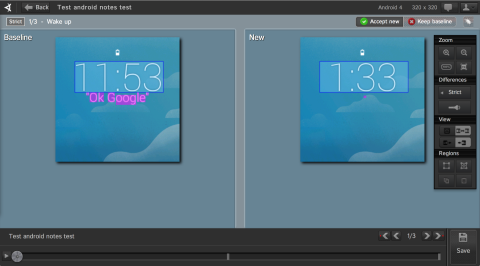
And here is the demo video:
If you have any questions, or comments, please feel free to leave them below, or contact me directly: yanir.taflev(at)applitools.com.
Additional reading: Want to radically reduce UI automation code and increase test coverage? Learn how CloudShare achieved this dual goal by simply automating UI testing.
To read more about Applitools’ visual UI testing and Application Visual Management (AVM) solutions, check out the resources section on the Applitools website. To get started with Applitools, request a demo or sign up for a free Applitools account.


