When you have multiple variations of your app, how do you automate the process to validate each variation?
A/B testing is a technique used to compare multiple experimental variations of the same application to determine which one is more effective with users. You typically run A/B tests to get statistically valid measures of effectiveness. But, do you know why one version is better than the other? It could be that one contains a defect.
Let’s say we have two variations – Variation A and Variation B; and Variation B did much better than Variation A. We’d assume that’s because our users really liked Variation B.

But what if Variation A had a serious bug that prevented many users from converting?
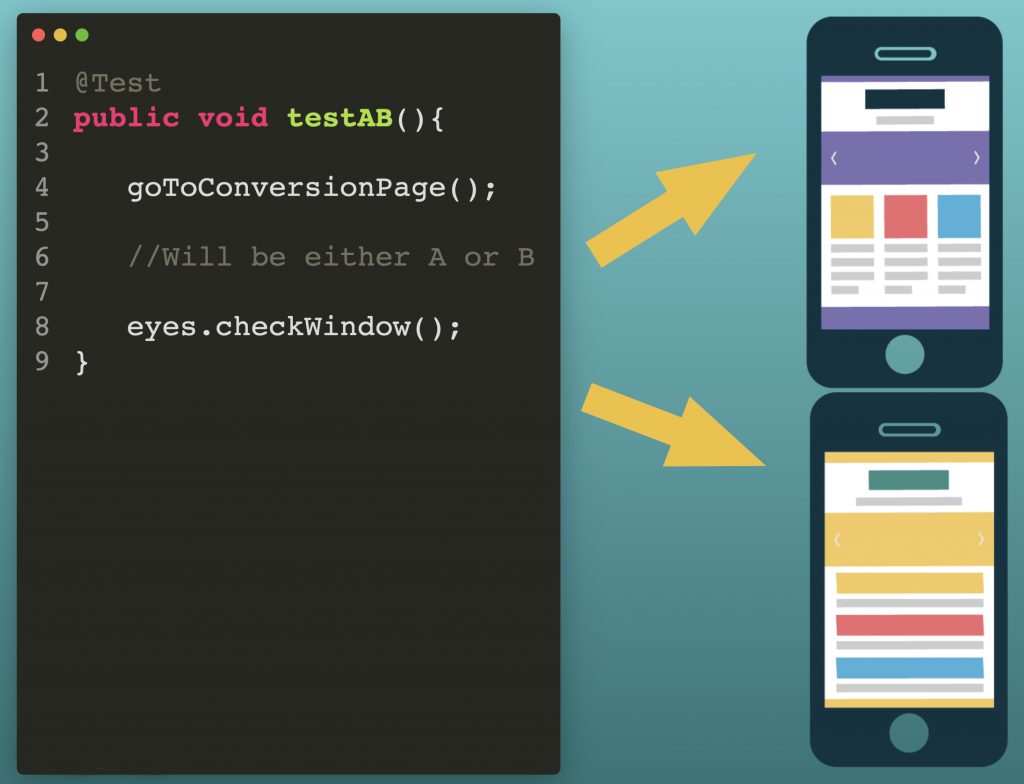
The problem is that many teams don’t automate tests to validate multiple variations because it’s “throw away” code. You’re not entirely sure which variation you’ll get each time the test runs.
And if you did write test automation, you may need a bunch of conditional logic in your test code to handle both variations.
What if instead of writing and maintaining all of this code, you used visual testing instead? Would that make things easier?
Yes, it certainly would! You could write a single test, and instead of coding all of the differences between the two variations, you could simply do the visual check and provide photos of both variations. That way, if either one of the variations comes up and there are no bugs, the test will pass. Visual testing simplifies the task of validating multiple variations of your application.
Let’s try this on a real site.
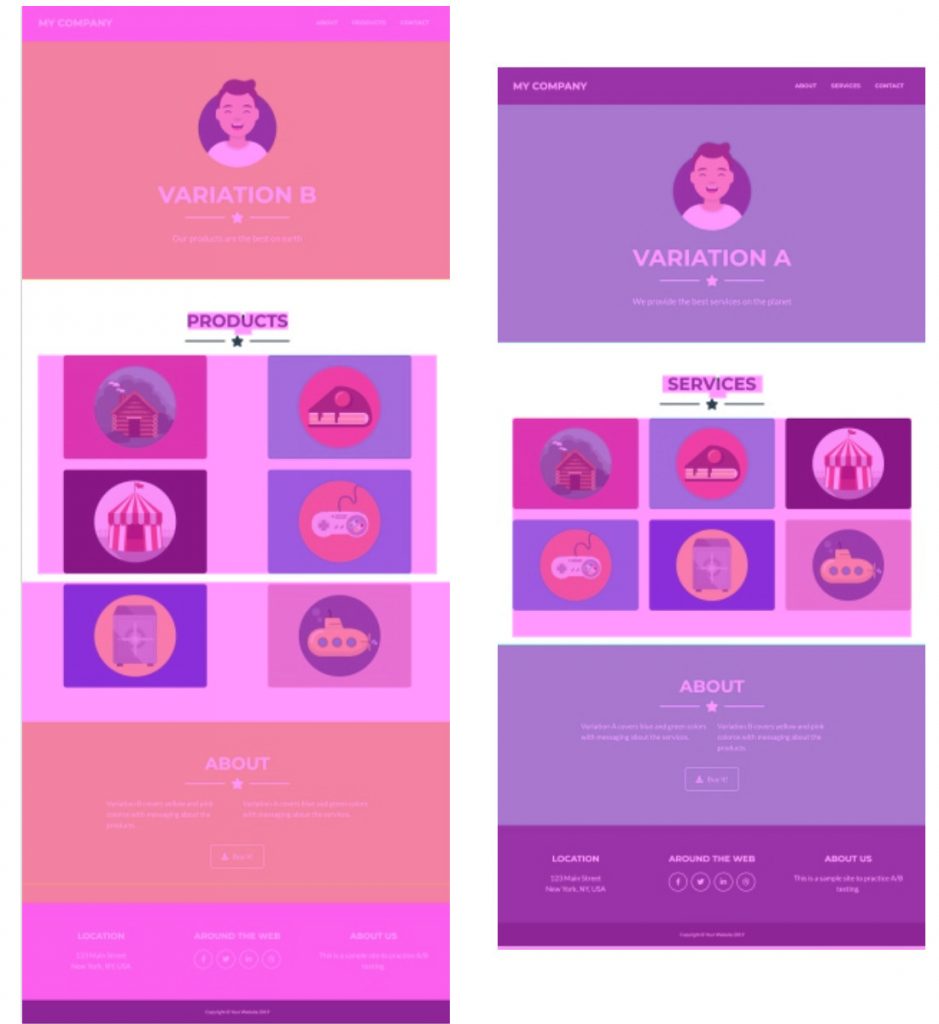
Here’s a website that has two variations.
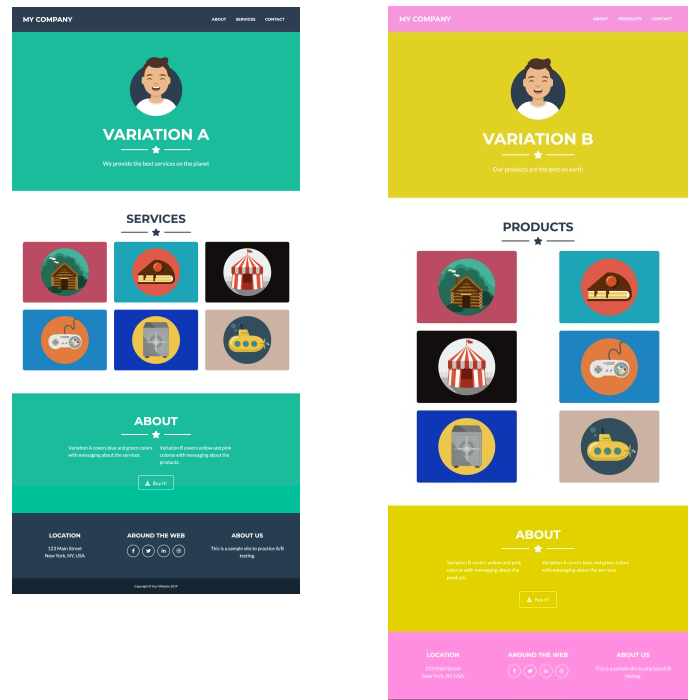
There are differences in color as well as structure. If we wanted to automate this using visual testing, we could do so and cover both variations. Let’s look at the code.
I have one test here which is using Applitools Eyes to handle the A/B test variations.
- On line 27, I open Eyes just as I normally would do
- Because the page is pretty long, I make a call to capture the full page screenshot on line 28
- There’s also a sticky header that is visible even when scrolling, so to avoid that being captured in our baseline image when scrolling, I set the stitch mode on line 29
- Then, the magic happens on line 30 with the checkWindow call which will take the screenshot
- Finally, I close Eyes on line 31
After running this test, the baseline image (which is Variation B) is saved in the Applitools dashboard. However, if I run this again, chances are that Variation A will be displayed, and in that event my visual check will fail because the site looks different.
Setting Up the Variation
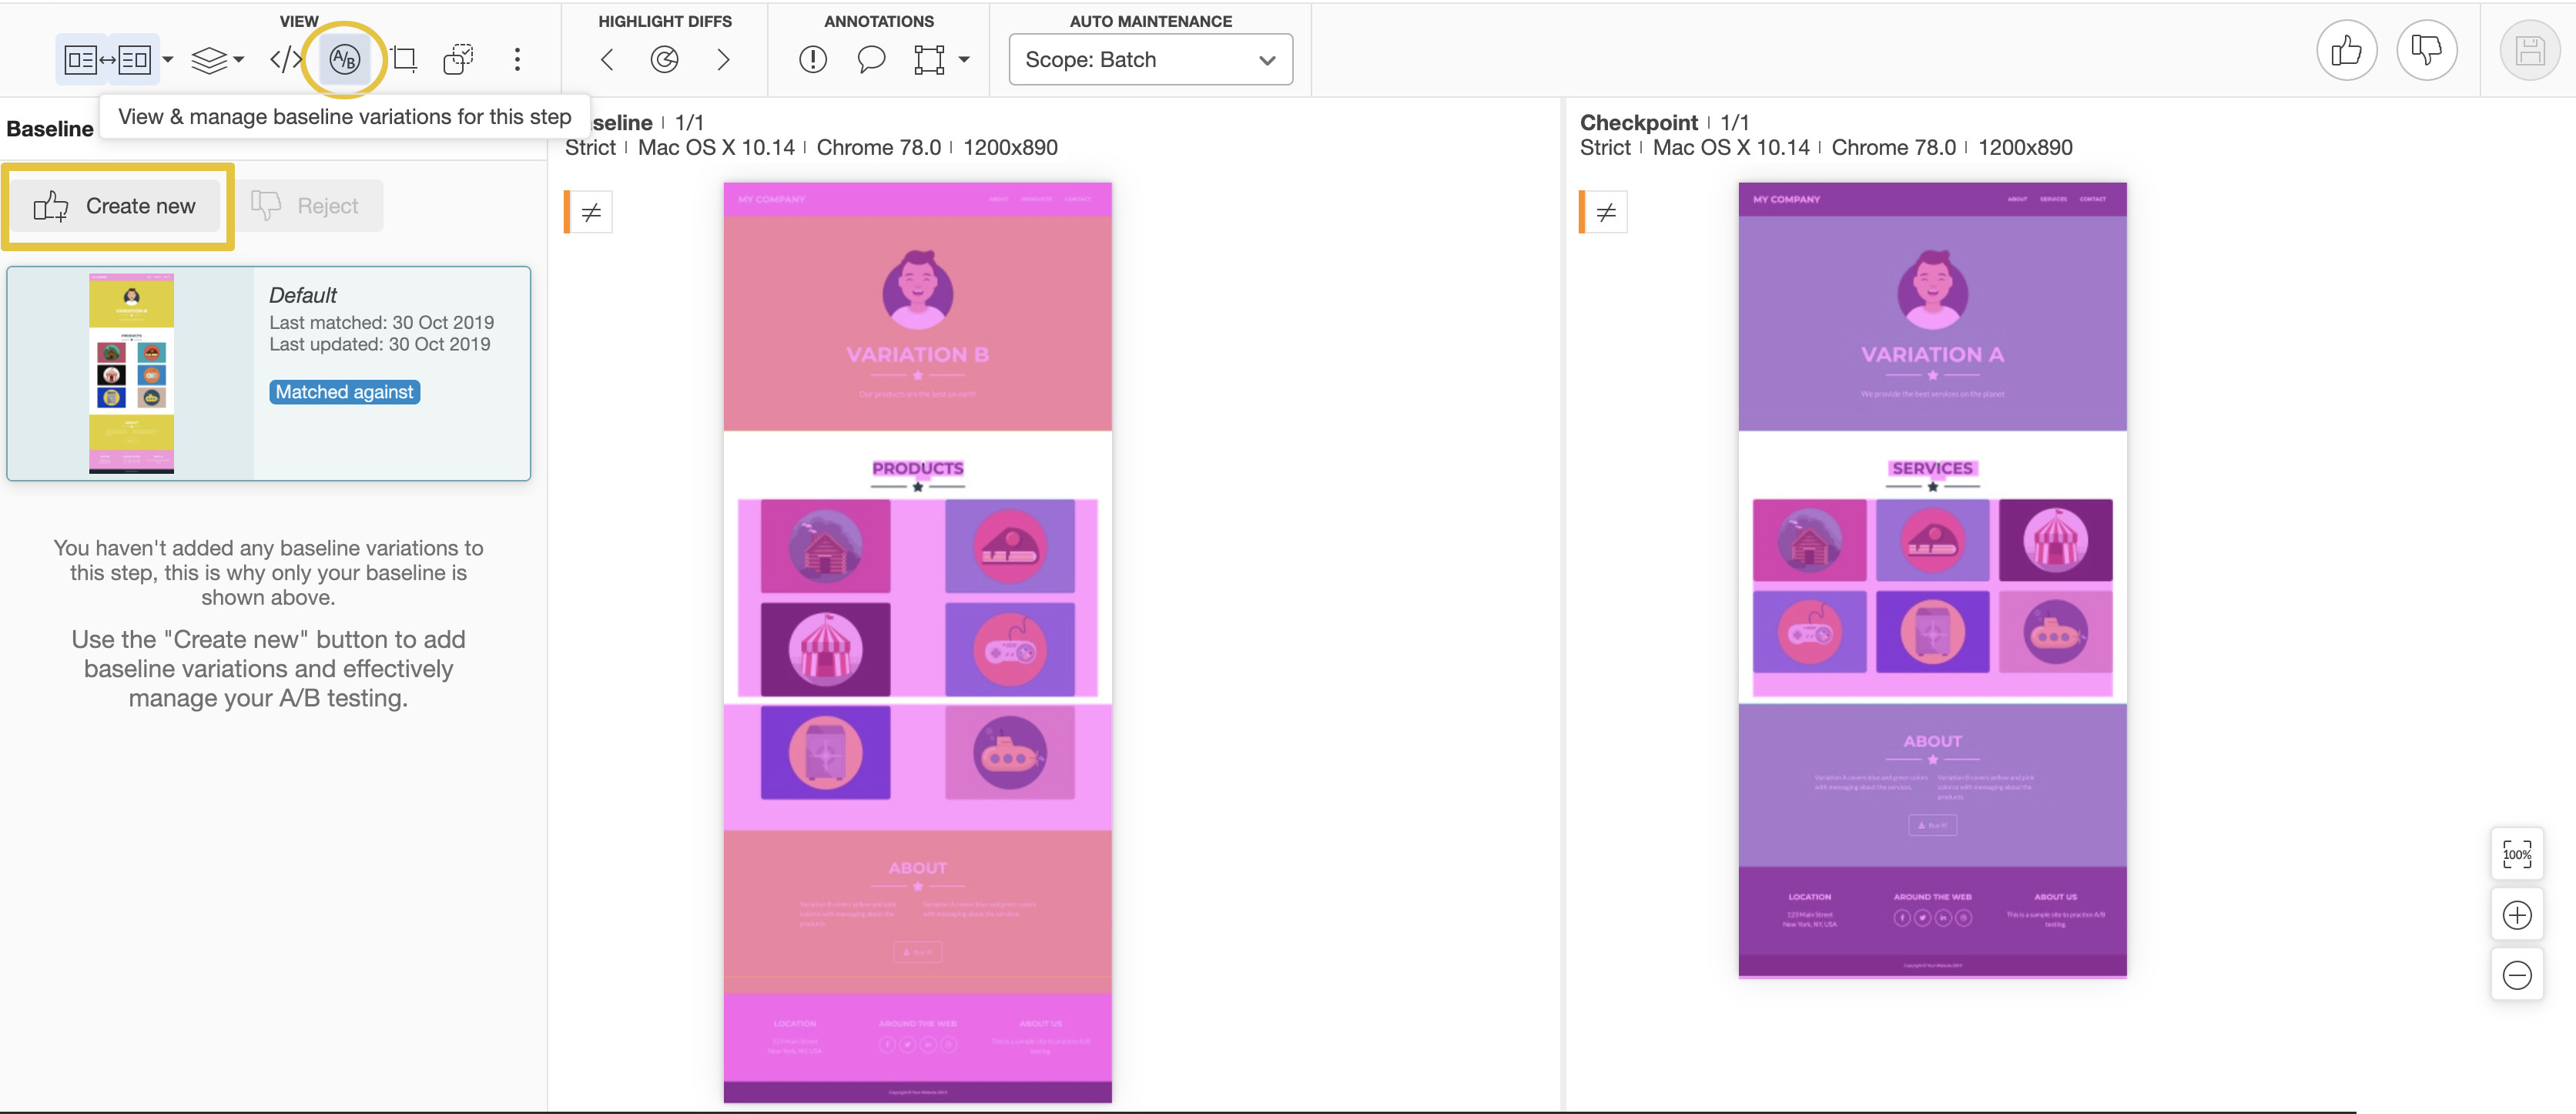
In the dashboard, we see the failure which is comparing Variation A with Variation B. We want to tell Applitools that both of these are valid options.
To do so, I click the A/B button which will open the Variations Gallery. From here, I click the Create New button.
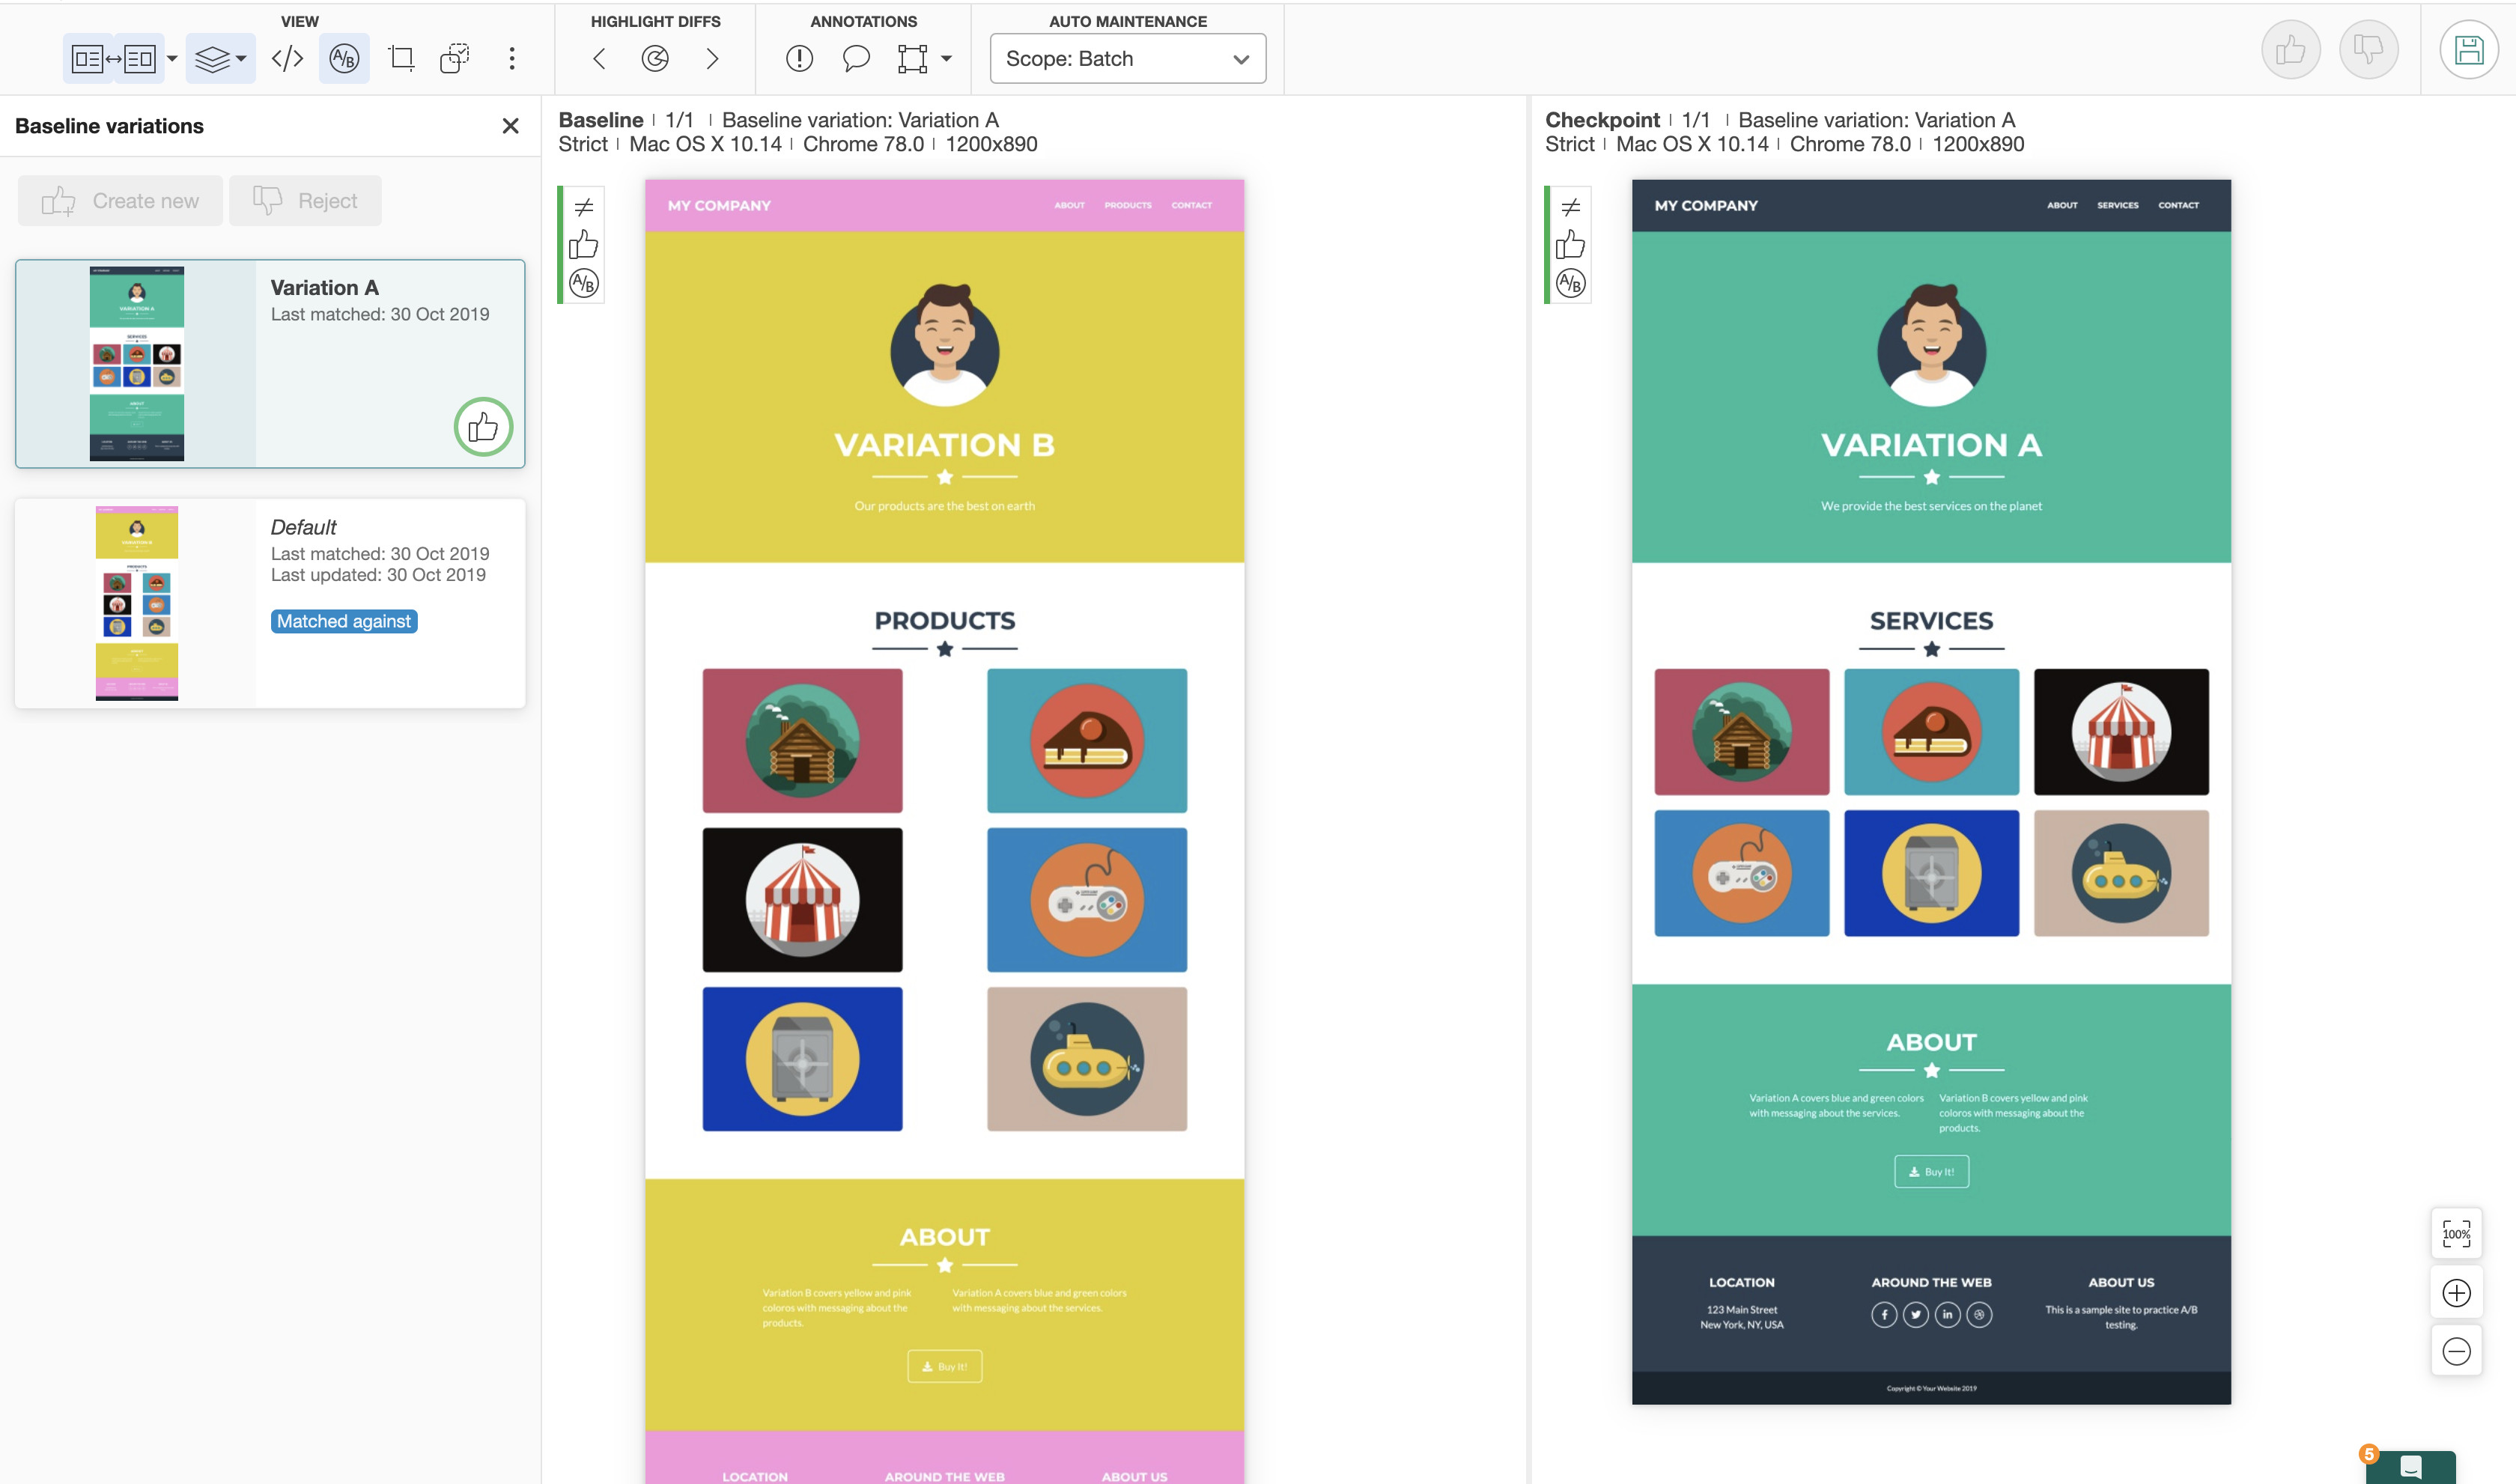
After clicking, the Create New button, I’m prompted to name this new variation and then it is automatically saved in the Variation Gallery. Also, the test is now marked as passed. Now in future regression runs, if either Variation A or Variation B appears (without bugs), the test will still pass.
Another thing we can do is rename the variations. Notice the original variation is named Default. By hovering over the variation, we see an option to rename it to Variable B, for example.
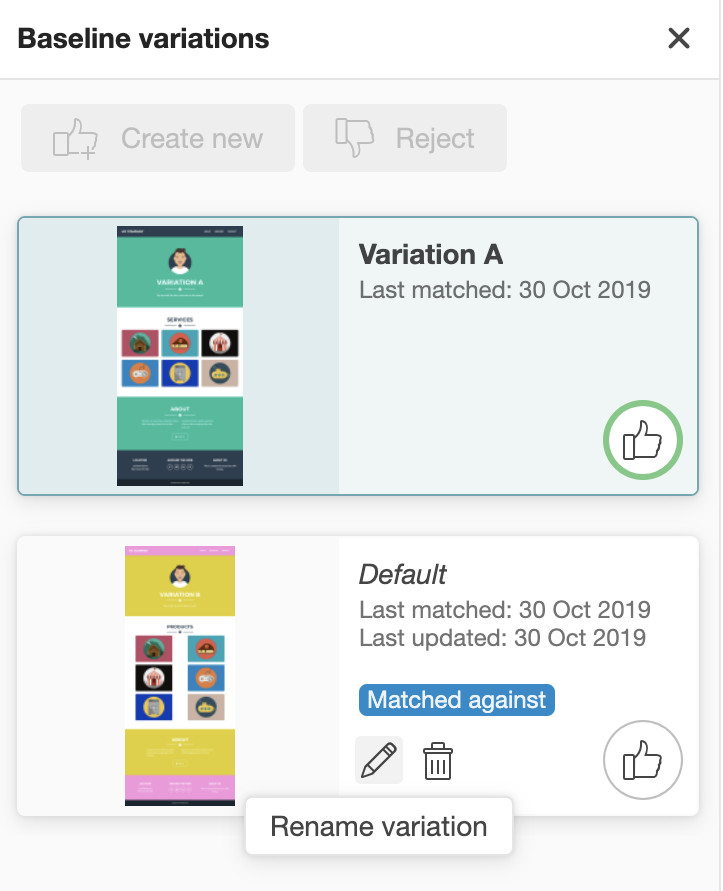
I can also delete a variation. So, if my team decides to remove one of the variations from the product I can simply delete it from the Variation Gallery as well.
See It In Action!
Check out the video below to see A/B baseline variations in action.
For More Information
- Read all about Functional Test Myopia
- Blog: How Do I Validate Visually?
- Blog: Shifts Happen – Inspect Just The Changes That Matter
- Visit the Automated Visual Testing Course on Test Automation University
- Sign up for a free Applitools account
- Request an Applitools Demo
- Visit the Applitools Tutorials
