Modern Functional Testing – Caveats and Conclusion
In reaching the conclusion of the course on Modern Functional Testing using Visual AI, I reach the key question:
Can I use visual assertions to replace text-based assertions for my test infrastructure?
In my prior blog posts, I have summarized each chapter of Raja Rao DV’s course on Modern Functional Testing, which you can take on Test Automation University. We have reached Chapter 8 – Three Main Caveats. Both this chapter and the prior chapter help frame the real-world issues involved in modern functional testing with Visual AI. And, they help frame the answer to the question you’re undoubtedly asking yourself – will Visual AI testing work for me?
Let’s discuss the caveats and then draw some conclusions
Caveat 1 – Dynamic Data
We already covered dynamic data in Chapter 7, which explained how Applitools Visual AI incorporates region-based exception handling for truly dynamic parts of a web page.
If all you had was a full screen or full page snapshot, dynamic data would generate differences randomly in those dynamic regions. You could not let the app run freely – you would have to constrain its behavior.
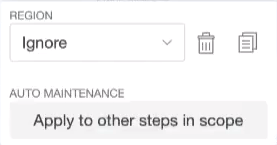
However, if you can apply different match levels to different regions, you can handle dynamic parts of a page. In one case, you can simply ignore a region. Or, you can ensure that the region layout remains structured correctly – even if the content changes.
So, handling dynamic data is one caveat you already know you can overcome.
Caveat 2 – Browser Limitations
The second caveat involves specific browser or app limitations. Raja gives the example of browser-native capabilities, such as native select menus or native pop-up windows. Neither of these coding structures lends itself to snapshot capture. If you cannot capture the visible behavior, you cannot run a screen comparison.
If you use these kinds of structures in your app, visual AI cannot capture the behavior. You may still need to use legacy assertions to capture this behavior.
Caveat 3 – Test Execution Speed
The third caveat involves test execution speed. It takes time for a browser to render a page. On top of rendering time, visual testing may be instructed to scroll and capture an entire page – which is done a screen at a time. Scroll-and-capture can cause the entire test run for an app to take considerable time.
Yes, the legacy approach can seem faster. Using code to inspect elements in the DOM runs much more quickly than scrolling and capturing. But, as Raja has pointed out, the legacy approach becomes a management headache when developers add new features or change design that result in visible errors.
To address this caveat, Raja talks about smart test design. As the test engineer, you know the test states for your app. If any of your tests encounter a page in an identical state, capture that page only once. Also, to reduce execution time, run your tests in parallel as much as possible.
Revisiting The Course
To sum up my series, I thought I would revisit some of the takeaways that Raja shared or that I inferred through his course.
Less Code To Manage
Compared with legacy functional tests, a modern functional test with Visual AI leaves you with less code to manage. And, this matters over time, because while developers can make small changes, even small changes can have a large impact on the code you have to manage.
When you develop functional tests with code assertions, you trust that your code assertions will catch a programming error that causes the expected code not to be where you expect it. You figure that locators will guide you to the proper line of HTML and that the existence of the value related to that locator describes the screen behavior.
Except, of course, it is possible to have locators remain the same and cause an app to become unusable. For example, your developers can introduce a small CSS change. That change does not modify your locators, but it does make your web app unusable. Would your existing legacy code expose the impact of overlapping, hidden, or invisible content?
By reducing dozens of code assertions on a single page to a single visual assertion, you reduce the amount of code you have to manage. Visual assertions will catch your visual failure modes as well as your functional failure modes. And, if developers fail to tell you about a change or new features, your visual assertions will expose those changes (and, maybe, help improve your team communications).
Covering More Cases

The next benefit we discussed involved problematic test cases for legacy functional test. These included:
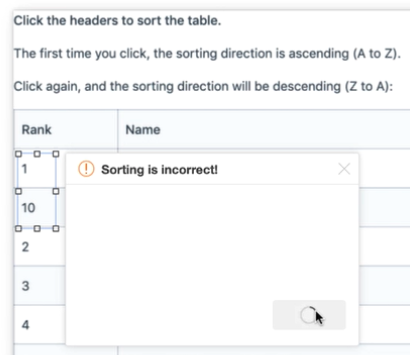
- Testing tables, where table data can change in large chunks through ordering and filtering. You can code your tests by following the code logic – and discover that your test instructions can validate code that, in fact, does not match user expectations.
- Running data-driven testing, where it becomes too easy to code only for expected behavior and miss unintended or uncommunicated changes.
- Handling dynamic content, which can change from test run to test run or app instance to app instance. In such cases, you either don’t bother testing, or you write code to test sections and structure of the page and ignore visual representation completely
- Testing complex HTML structures – like iFrames. These might be difficult to navigate for web element locators. Your code might be unwieldy to maintain over the long term.
For these kinds of test cases, text-based assertions are either difficult to code, difficult to recode when changes occur, or impossible to code in the first place. If you use these types of structures in your code, you are less likely to adopt functional or layout changes – as those changes introduce a test code maintenance cost in addition to the direct coding cost.
Visual assertions handle all these cases. Tables become a single assertion instead of a set of coded assertions. Data-driven testing loses its code dependency and can catch unintended behavior or visual changes. Dynamic content you can contain and step through to treat as static or snapshot content – or you can treat those regions as ignore regions. And, finally, snapshots can handle more complex HTML code.
Faster To Develop, Easier to Maintain
With less coding and less code required, visual testing with visual AI simplifies your test development process. Exercise a test – eyes.checkWindow(). Exercise another test step – eyes.CheckWindow(). You begin to manage where you capture screens – and that management step becomes the skill set you care about – rather than the code management for tests of all the visual elements you want to verify (and finding ones you missed).

Once you have baseline images, each subsequent run becomes a new checkpoint. All identical images pass. Any changes between the checkpoint and baseline are called “Unverified.” You get to inspect those differences and either accept or reject the changes. You can see the differences on-screen – either side-by-side or overlapping. That makes it easy to determine which version you are seeing, and whether or not you want to approve or reject the change.

We spent some time reviewing the Automated Maintenance feature. Automated maintenance lets you maintain tests by finding a change on a single screen, accepting or rejecting it, and then using Automated Maintenance to perform the same accept or reject on all identical changes found within your test set. If you introduce a new menu item to all pages of your app, Automated Maintenance lets you handle that change quickly.
Exception Handling
We spent Chapter 7 reviewing how to handle dynamic data and other exceptions. You saw how you can easily capture regions and treat them differently from the rest of the capture. You can ignore regions, just validate the layout, or just validate the content. Be careful with exceptions – they will persist as you update the app, and may not always be relevant for an upgraded app.
Next Steps – Getting Started With Visual Testing
Applitools made a big push in November to get you to take Raja’s course and get up to speed with Visual AI through our Visual AI Rockstar Hackathon contest. We invited you and your colleagues – and anyone who was interested – to try Applitools Eyes for yourself. We gave you a test app and test steps – along with Raja’s course. We’re reviewing the results and will publish hackathon winners early in 2020.
While you cannot participate in the Hackathon at this time, you can still get up to speed with Applitools Eyes as a way to learn Visual AI. Sign up for a free account and get started. You can see how well Applitools works with your existing tests – and you can start to see how much test code you no longer need when you switch to Visual AI.
Conclusions
I started taking Raja’s course as a way to figure out what you would experience if you were to take the course. As an Applitools team member, I know more than a novice – but I don’t have all the experience that some test engineers bring to application testing.
We discussed internally what we thought you might take away from this course – and what might hold you back from trying Visual AI. We recognized that anyone who thinks of functional testing as entirely code-based entry, execution, and assertion, would think of visual testing as a nice-to-have add-on to their functional tests. But, the more we thought about the limitations of functional testing with code assertions, we realized we had identified the problem plaguing application testing.
In my subsequent conversations with QA practitioners, I realized that everyone has built or used some kind of snapshot tool in their QA process for years. As one of my former colleagues noted, he used snapshot comparison at our prior employer to figure out if the developers had introduced new features without telling QA.
However, no one has used visual snapshots in production and test automation, because no one could automate the visual testing process with any degree of accuracy. Automated tools reported too many false positives. Visual testing indicated potential issues but could not be relied upon in production test automation. So, visual testing could only be a nice-to-have.
We think we have built that production-ready test automation tool that increases your productivity as a tester. I hope you have gotten interested enough in Applitools to add Visual AI to your functional testing process. Depending on your test language and test infrastructure of choice, you can find a tutorial on applitools.com and even a course on visual testing in Test Automation University. So, we hope this course served as an invitation for you to do something more with Applitools and Visual AI.
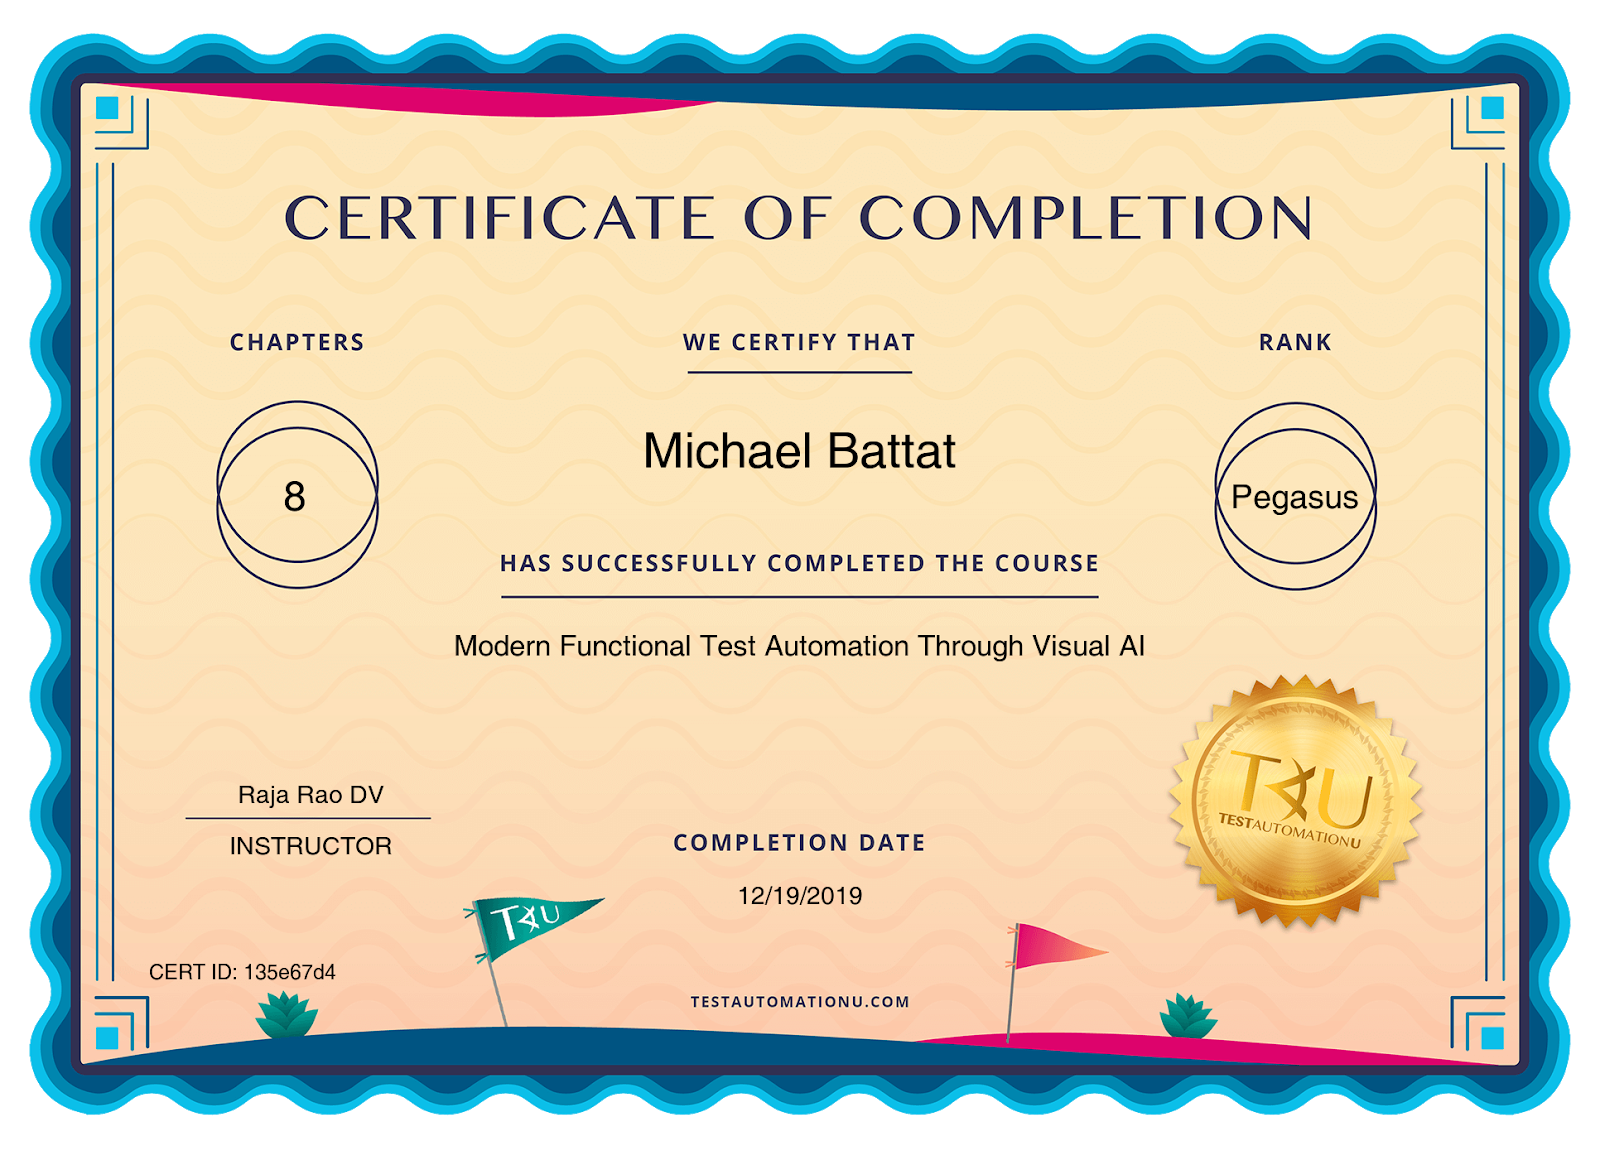
As always, whenever I complete a Test Automation University course

Happy Testing!
For More Information
Blogs about chapters in Raja’s series on Modern Functional Testing:
- Modernize Your Functional Testing – Chapter 1 of Raja’s course.
- Advanced Tools for Testing Tables – Chapter 2 of Raja’s course.
- Data-Driven Testing with Visual AI – Chapter 3 of Raja’s course.
- How Do you Test Dynamic Content? – Chapter 4 of Raja’s course.
- Testing iFrames with Visual AI – Chapter 5 of Raja’s course.
- Complex Functional Testing Simplified – Chapter 6 of Raja’s course.
- Dynamic Data with Visual Validation – Chapter 7 of Raja’s Course
Actions you can take today.
- Sign up for Test Automation University
- Read all about Functional Test Myopia
- Visit the Automated Visual Testing Course on Test Automation University
- Blog: How Do I Validate Visually?
- Sign up for a free Applitools account
- Request an Applitools Demo
- Visit the Applitools Tutorials


